|
| |
Product Classification : Metal Cap/Crown Cap/Tab Cap/Screw Cap/Claw Opening Cap
|
| Total page:3
Current page:1 Total records:62 |
First |
Previous |
Next |
Last
|
|

|
CanNeed-VRM-4C Video Rivet monitor
|
|
CanNeed-VRM-4C Video Rivet monitor is a Video camera system to observe and evaluate the rivet profile images of ends for rivet quality control. Any end of varying diameter may be tested.
Use the CanNeed-LSS-100 Low Speed Saw to cut the ends through the rivet position, place the cut end on the measuring support and adjust the camera to focus to the rivet position, the rivet profile image will show on the monitor.
With the VRM professional software, it is able to measure the rivet parameters on-screen. The measurement data and rivet images can be store or print out, make it more convenience for communicating with the production department or manufacturers.
|
|

|
CanNeed-LaserScore-200 Score Residue Measure System
|
|
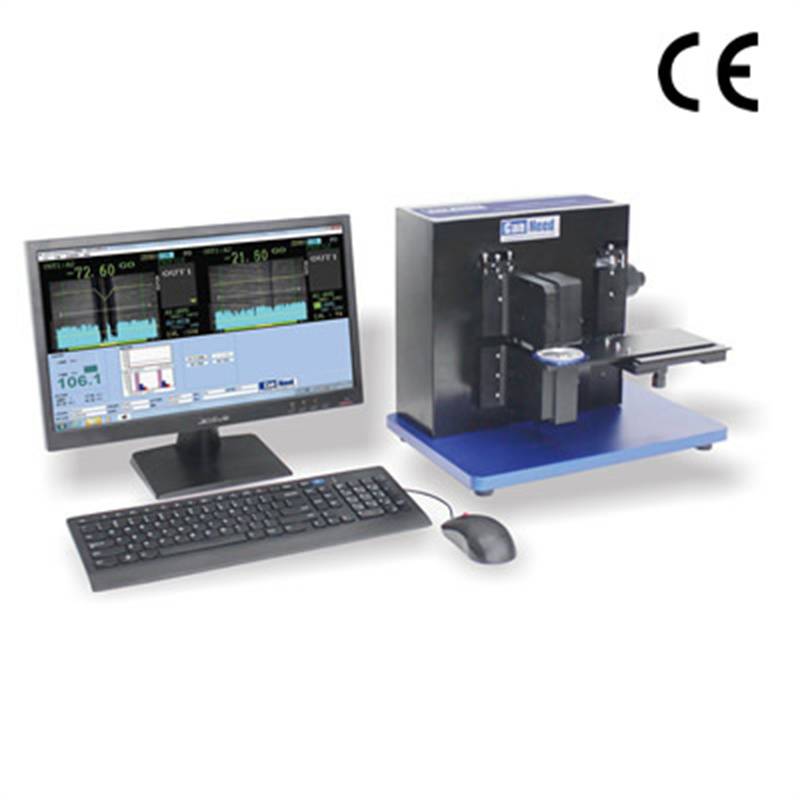
Based on laser technology and software analysis, the ��CanNeed-Laserscore-200 Score Residue Measure System�� is a non-destructive system for measuring the residual score on Ends. It combines ease of use and reliability with excellent repeatability and accuracy. The end clamp is equipped in a 360�� rotary two-dimension linear guide working platform. It matches the ends, convenient to position and measure.
Measure principle: The position of reflected light on the sensor changes corresponding to the change of
"the score depth��. Through inspecting this position change, it can measure the score depth of ends. The CanNeed-LaserScore-200 system uses two laser sensors, which are installed on the top side and underside of the can end �C the reflect Laser beam to the sensors depending on the depth of the surface. The score depth and residue are calculated based on the calibration table and the actually performed measurement.
It takes about 5 seconds to do a measurement. It is simple to operate the laser measure software!
|
|

|
CanNeed-LaserScore-300 Automatic EOE Score Residue and Progression Measure System (Non-contact)
|
|
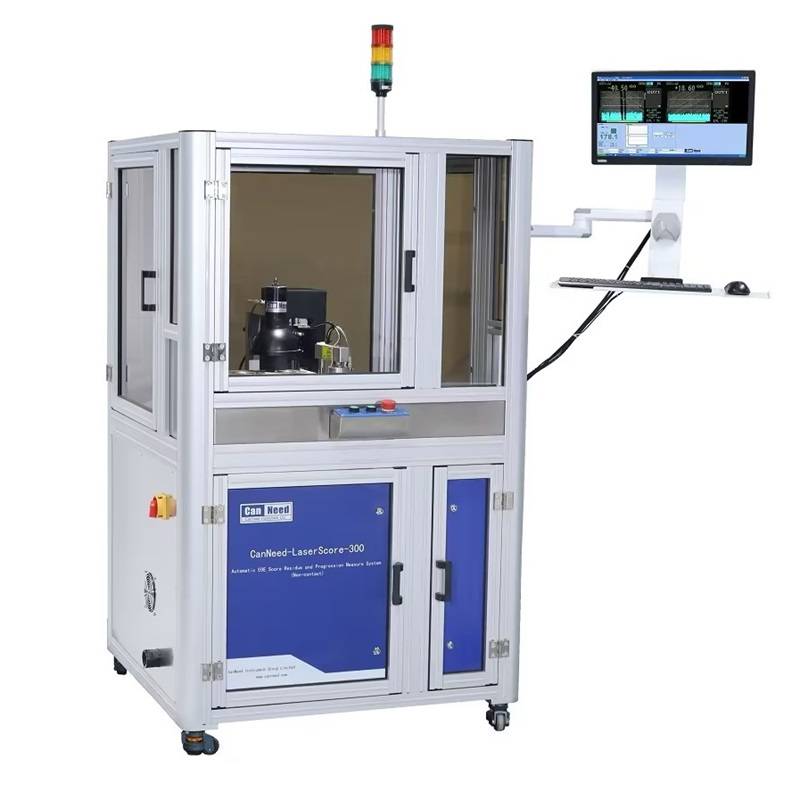
Based on laser technology and automatic visual positioning technology, the CanNeed ��LaserScore-300 Automatic EOE Score Residue and Progression Measure System�� is used to inspect EOE score residue and rivet convex progression automatically. LaserScore-300 has 2 work positions, each position adapts to inspect 202, 206 and 209 EOE.
Put several EOE samples stacked in the position to be measured, when testing, the automatic sampling mechanical arm will send the sample to the inspection clamp, the servo system coordinate with the automatic visual positioning system, positioning the measuring point accurately, measuring the different points on EOE by turns, the automatic sampling mechanical arm will send the sample from the clamp back to the stacked position after inspection completely each time.
The application of LaserScore-300 realizes automatic measuring batch samples, save time, labor and material greatly.
|
|

|
CanNeed-EMD-400 End Measure Desk
|
|
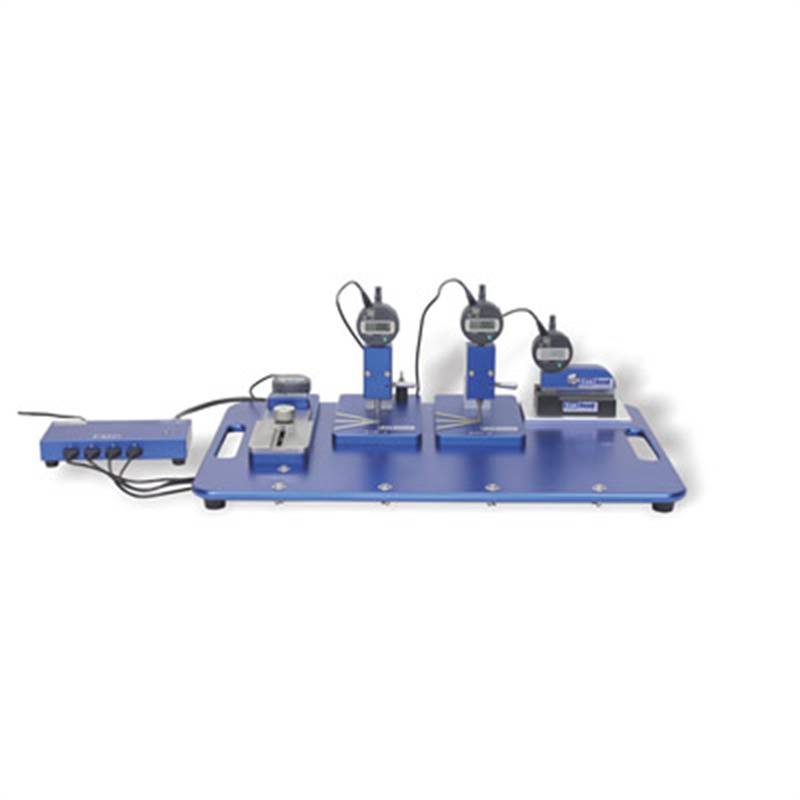
CanNeed-EMD-400 End Measure Desk is developed according to the long-term practical experience, it can be used next to the production line or in the laboratory.
The CanNeed-EMD-400 measures the End Curl Height, End Curl Diameter, End Curl Width and Countersink.
|
|

|
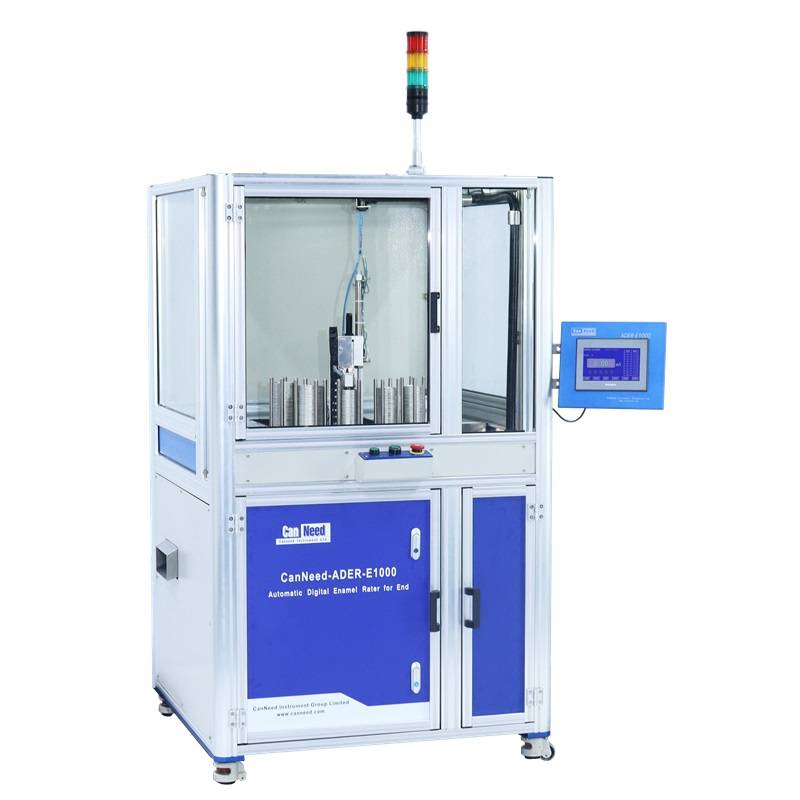
CanNeed-ADER-E1000 Automatic Digital Enamel Rater for Ends
|
CanNeed-ADER-E1000 is used to test the coverage of the enamel coating inside ends.(enamel coating compactness, mA)
ADER-E1000 automatically place the end into measuring station, then get the current value (mA)of the end after 4 seconds, and also display Max current value and average current value at the same time. If any failure in test caused by poor contact, there will be a reminder and warning. Data can be output to PC via RS 232 C interface.
ADER-E1000 can detect the exposed metal quicker with optimized electric design to make test quicker, more reliable and accurate.
|
|

|
CODG Cap External Diameter Gauge
|
The ��CODG Cap External Diameter Gauge��is used to test the out diamter of the crown caps to see if the gland is qualified or not.
|
|

|
CanNeed-SST-300 Secure Seal Tester(3 Stations)
|
|
The ��CanNeed-SST-300 Secure Seal Tester ��is used to test seal integrity on the glass or plastic containers and cans. The CanNeed-SST-300 has been designed to address the special needs of sealing cans and bottles that use aluminum roll-on, twist crowns, or plastic caps. The CanNeed-SST-300 operates with compressed air, nitrogen, or carbon dioxide. By detecting gas leakage, rather than liquid, the Secure Seal Tester gives more sensitive, accurate readings.
|
|

|
DSST-100 Digital Secure Seal Tester
|
|
The ��Canneed DSST-100 Digital Secure Seal Tester ��is used to test seal integrity on the glass or plastic containers and cans. The DSST-100 has been designed to address the special needs of sealing cans and bottles that use aluminum roll-on, twist crowns, or plastic caps. The DSST-100 operates with compressed air, nitrogen, or carbon dioxide. By detecting gas leakage, rather than liquid, the Secure Seal Tester gives more sensitive, accurate readings.
|
|

|
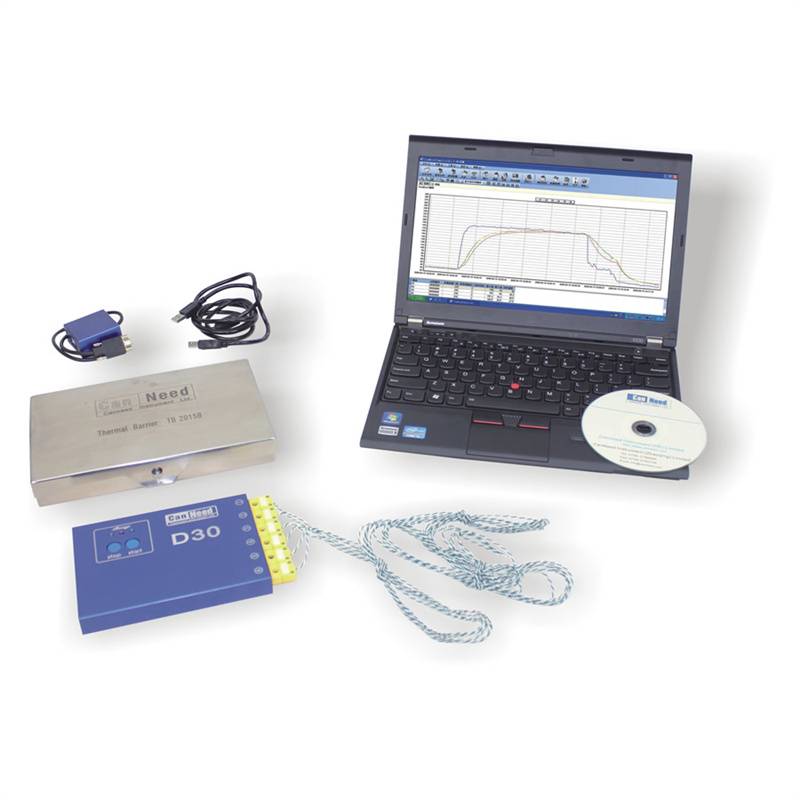
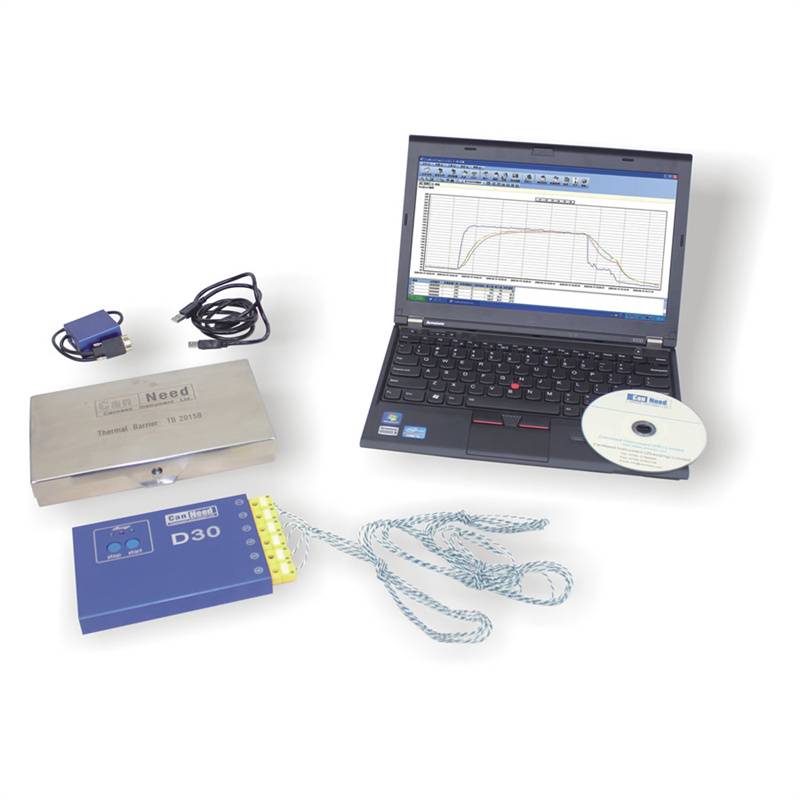
CanNeed-CND-TRK-300 Oven Temperature Tracker
|
|
The CanNeed CND-TRK-300 Oven Temperature Tracker is a professional oven temperature curve inspection system for the coating industry, it is including the data logger, heat insulation case, software (Chinese / English) and thermocouples.CanNeed CND-TRK-300 Oven Temperature Tracker is use to pass through the oven with the solidifying products, and record down the real temperature during the process.
|
|

|
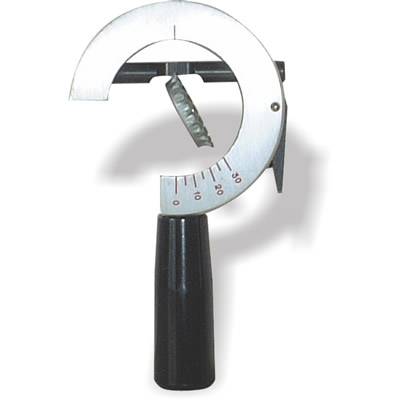
CanNeed-CAG-100 Crown Angle Gauge
|
|
The ��CanNeed-CAG-100 Crown Angle Gauge" is to make the fast and accurate test of the a angle of the crown ends.
|
|

|
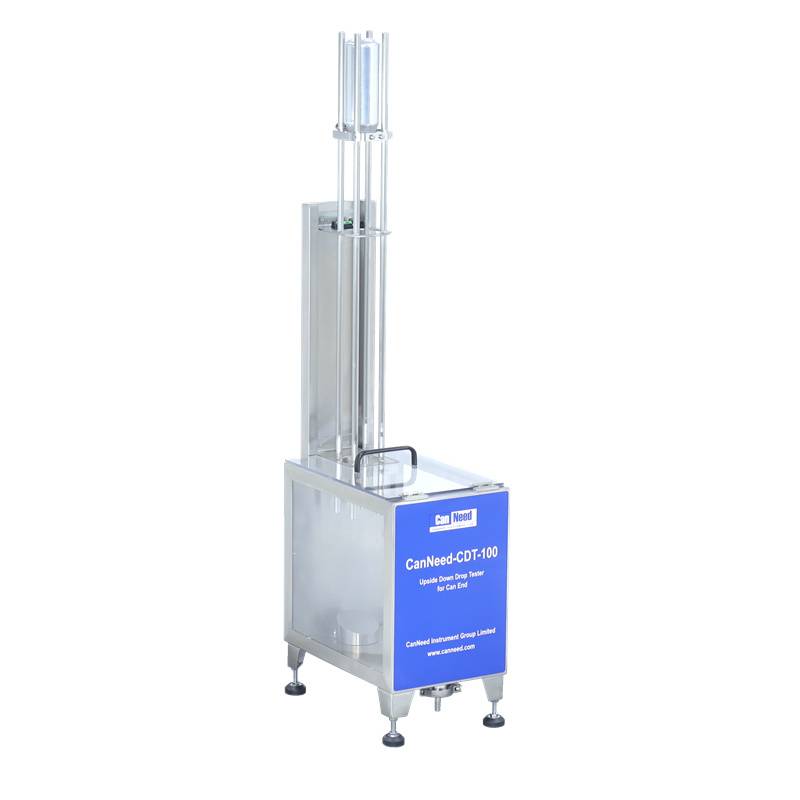
CanNeed-CDT-100 Upside Down Drop Tester for Can End
|
|
Verify the deformation of the can lid when subjected to drop impact tests at specified heights and angles.
|
|

|
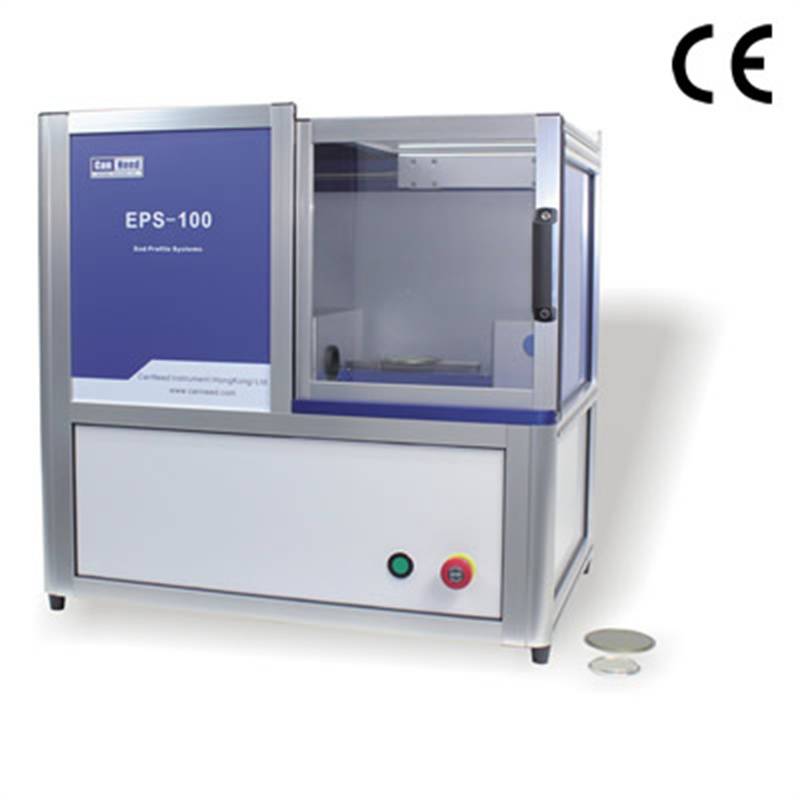
CanNeed-EPS-100 End Profile System
|
|
CanNeed-EPS-100 End Profile System is used to measure the end dimensions. It is with excellent performance by adopting precise optics measuring technology, measuring the end dimensions precisely.
The inaccuracy of end dimensions usually cause to such double seam defects as fault sealing, bearing cover and false sealing and so on. It is hard to measure the profile dimensions of ends without EPS-100.
EPS-100 takes the place of destruction measuring methods. The destruction measuring methods are not only inaccurate and time-consuming, but also get different results because of different operators. Adopting precise optics measuring technology, EPS-100 can measure all important parameters of ends.
|
|

|
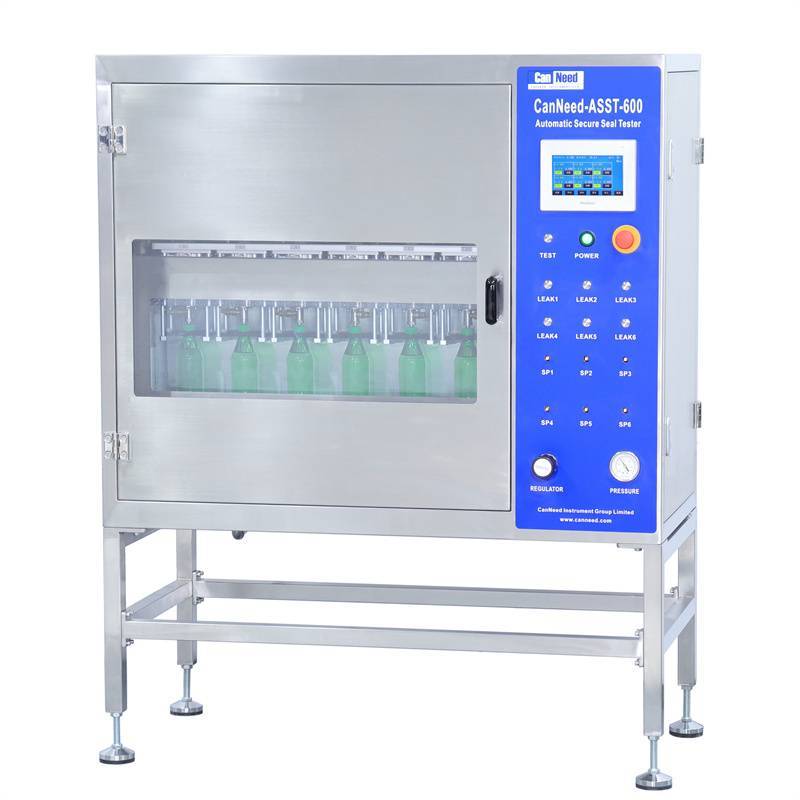
CanNeed-ASST-600 Automatic Secure Seal Tester
|
|
CanNeed-ASST-600 Automatic Secure Seal Tester is specially designed to test the seal integrity of PET bottles, glass bottles and the crown caps after packaging, prevent gas leakage and effectively control the sealing quality of the packaging cap. Comply with the national standard, line standard: GB/T 17876-2010 packaging container plastic anti-theft bottle cap. The ASST series products are widely used in beverage and brewing industries.
|
|

|
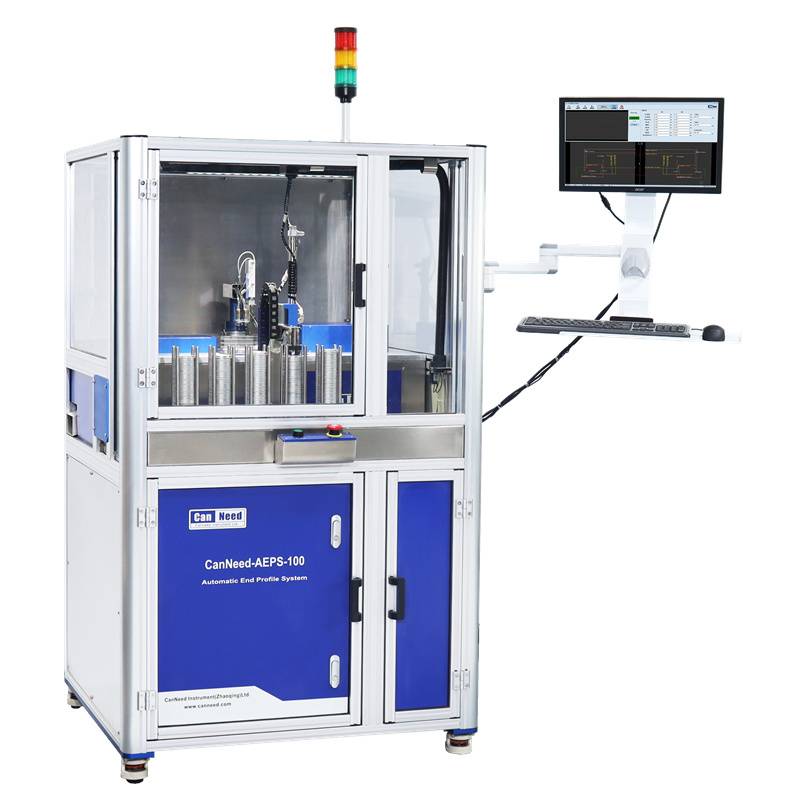
CanNeed-AEPS-100 Automatic End Profile Systems
|
CanNeed-AEPS-100 Automatic End Profile System is used to measure the end dimensions. It is with excellent performance by adopting precise optics measuring technology, measuring the end dimensions precisely.
The inaccuracy of end dimensions usually cause to such double seam defects as fault sealing, bearing cover and false sealing and so on. It is hard to measure the profile dimensions of ends without CanNeed-AEPS-100.
CanNeed-AEPS-100 takes the place of destruction measuring methods. The destruction measuring methods are not only inaccurate and time-consuming, but also get different results because of different operators.
Adopting precise optics measuring technology, CanNeed-AEPS-100 can measure all important parameters of ends.
|
|

|
SeamSight®-VSM-6B Automatic Seam Monitor
|
SeamSight-VSM-6B Automatic Seam Monitor is a compact measuring system for quick and accurate automatically seam measurements, it has adopted the advanced optical system and Golden LensTM video capture device, which ensured the high image definition and the measurement accuracy.
SeamSight-VSM-6B Automatic Seam Monitor is equipped with the professional seam measuring software CanNeed-CND_VSM3.0. With the CanNeed SPC data collection system, the data of actual seam thickness, actual countersink, etc., can be transferred to the computer automatically.
|
|

|
CanNeed-CND-TRK-300 Oven Temperature Tracker
|
|
"CanNeed-TRK-300 Oven Temperature Tracker�� is use to pass through the oven with the solidifying products, and record down the real temperature during the process. The logger is in the centre of the system. Heat insulation case is for protecting the logger from over heat by the oven. When passing through the oven, the CanNeed-TRK-300 Oven Temperature Tracker will record down the real time temperature of the solidifying products through the 5 thermocouples which were connected to the products, and one thermocouple is for recording the air temperature of the oven. After the recording process was finished, use the CND_TRK Software to analyze the temperature data and generate the detail reports.
|
|

|
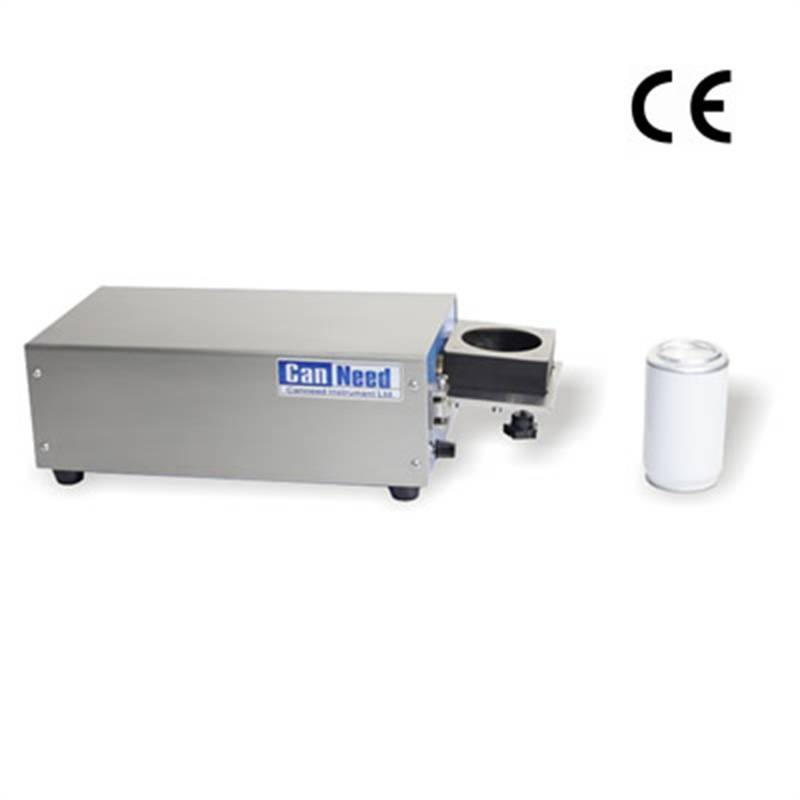
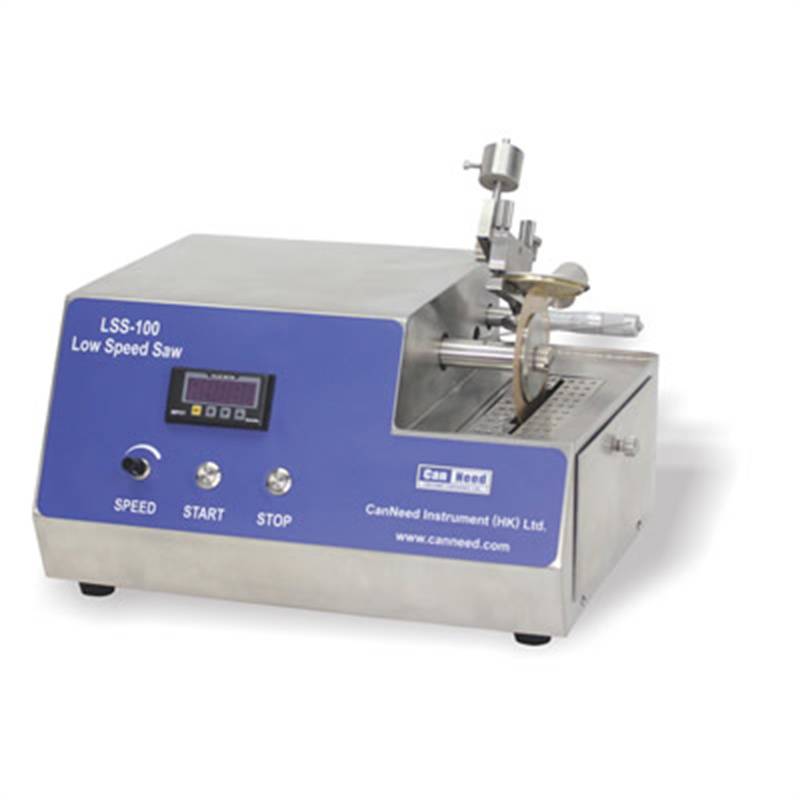
CanNeed-LSS-100 Low Speed Saw
|
|
CanNeed-LSS-100 Low Speed Saw" is for cutting the End rivet to observe and evaluate the rivet profile images of Ends.
The end is cut through the rivet by the CanNeed-LSS-100 Low Speed Saw and then placed onto the testing platform of "VRM-4CVideo Rivet Monitor��. The rivet profile images display on the screen. Use the ��VRM Measuring Software�� to measure the rivet quality. It is able to save and print the rivet profile images and data, convenient for the communication of Production Department or can making plants.
|
|

|
CanNeed-CCST-800 Crown Cap Secure Seal Tester(8 Stations)
|
|
CanNeed-CCST-800 Crown Cap Secure Seal Tester is used to test the air tightness of crown caps. The tester is made of stainless steel, so that ensure its durability.
Cap the crown cap on the bottle neck mould, immerge the cap position into the water tank, then increase the internal pressure and observe whether there are air bubbles come out, so that to test the air tightness of the crown caps.
CanNeed-CCST-800 Crown Cap Secure Seal Tester is widely used in the breweries, beverage and cap manufacturing factories.
|
|

|
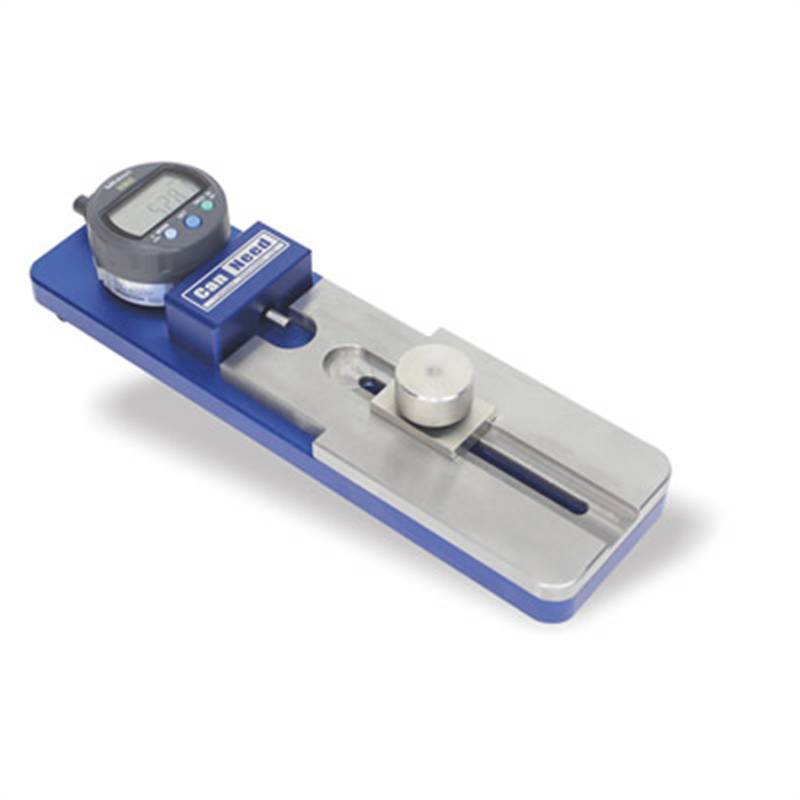
CanNeed-CDG-100 Curl Diameter Gauge
|
|
Equipped with the Mitutoyo0.01mmResolution Digital Indicator.
If purchased the adapter and cable, the gauge can be connected to a computer or SPC system for data collection.
|
|

|
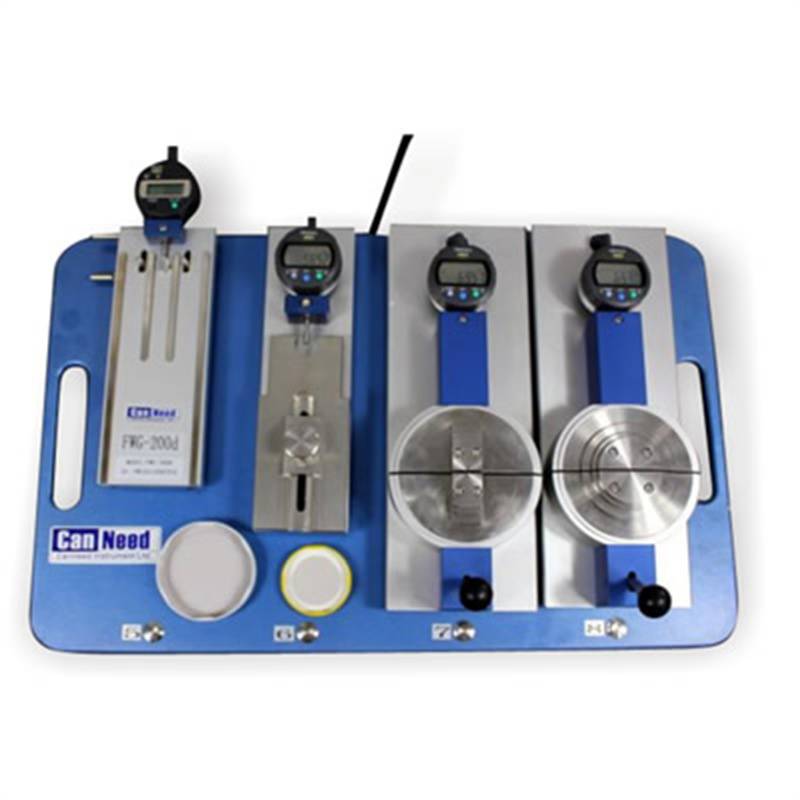
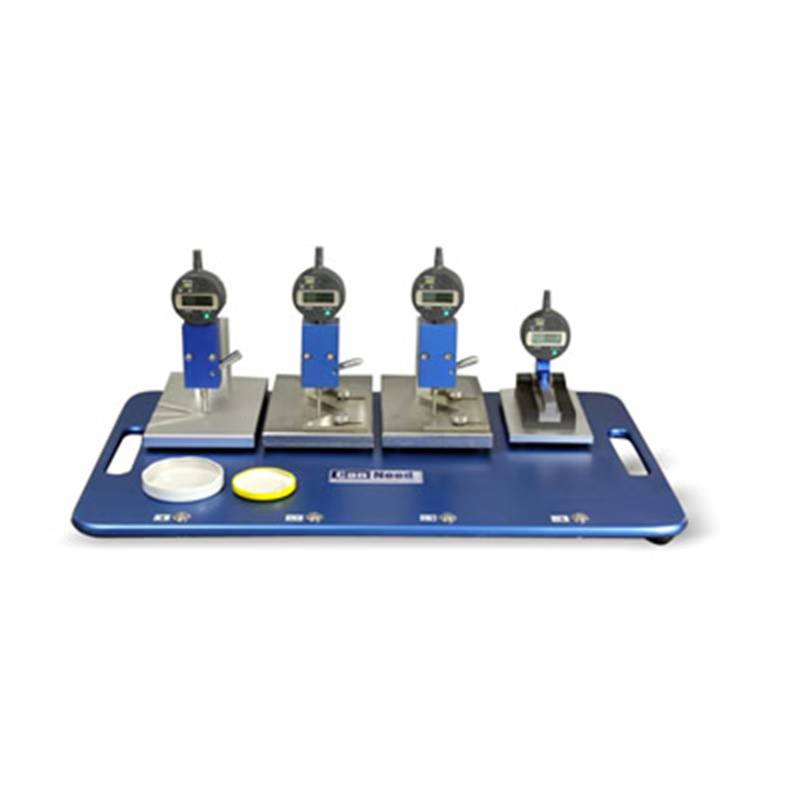
CanNeed-RDM-100 Radial Dimensions Measure Desk For Claw Twist Cap
|
|
The CanNeed-RDM-100 Radial Dimensions Measure Desk For Claw Twist Cap is developed based on the long-term practical experience. It is applied to measure the radial dimensions of claw twist cap: cover outer diameter, cover inside diameter, claw diameter, claw width.
Configure with Mitutoyo digital display.
If purchased the adapter and cable, the instrument can be connected to a computer or SPC system for data collection.
|
|

|
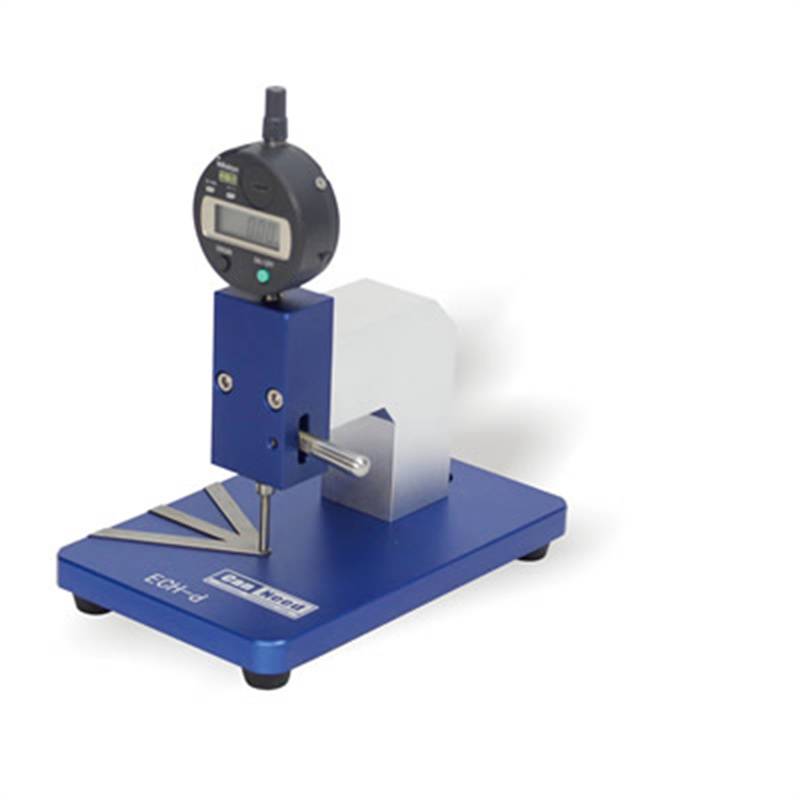
CanNeed-ECH-d End Curl Height Gauge
|
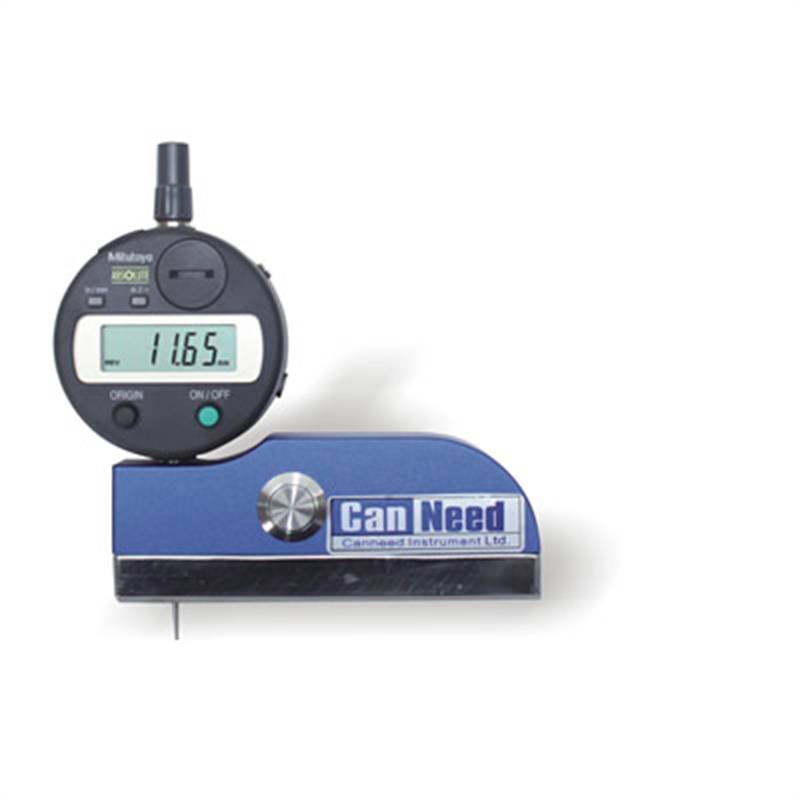
The ��CanNeed -ECH-d End Curl Height Gauge�� is a digital gauge for measuring the curl height of ends, applicable for both round ends and square ends.
With the Mitutoyo 0.01mm resolution digital indicator.
If purchased the adapter and cable, the gauge can be connected to a computer or SPC system for data collection.
|
|

|
CanNeed-HDM-100 Height Dimension Measure Desk for Claw Twist Cap
|
|
CanNeed-HDM-100 Height Dimension Measure Desk for Claw Twist Cap is developed based on long-term practical experience. It is applied to measure the height dimensions of the claw twist cap: cover, claws, glue thickness, groove depth and projecting ear.
|
|

|
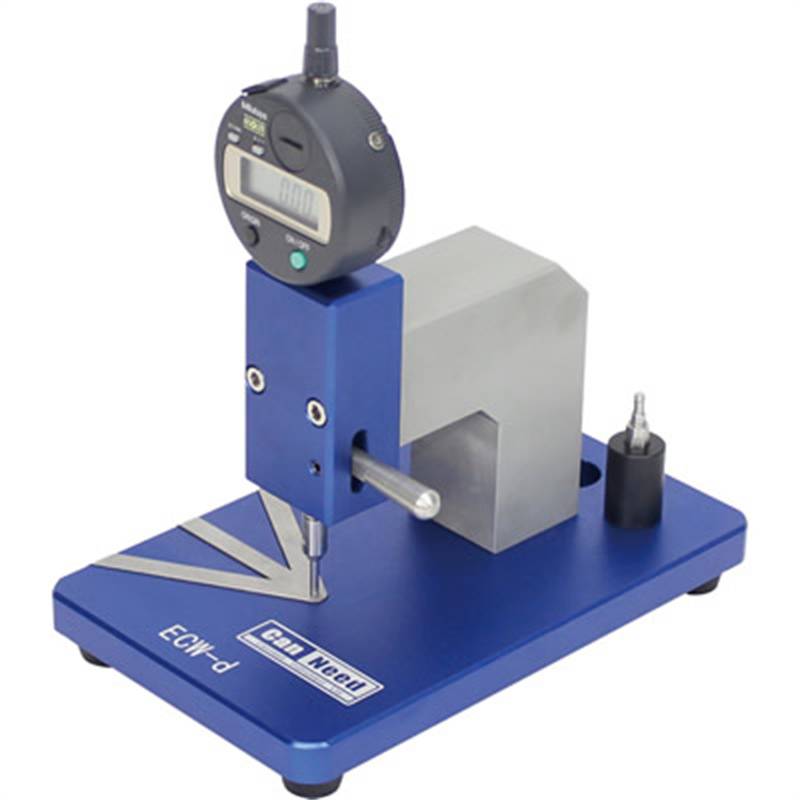
CanNeed-ECW-d End Curl Width Gauge(Measures the end curl width)
|
|
CanNeed-ECW-d End Curl Width Gauge is for measuring the end curl width of the can ends. It is applicable for both round end and square ends. Use the prod contactor to measure the end curl width,optional for 2.72 mm or 3.07mm (customize by order). It can also measure the end curl height.
Equipped with the Mitutoyo 0.01mm resolution digital indicator. If purchased the adapter and cable, the gauge can be connected to a computer or SPC system for data collection.
|
|

|
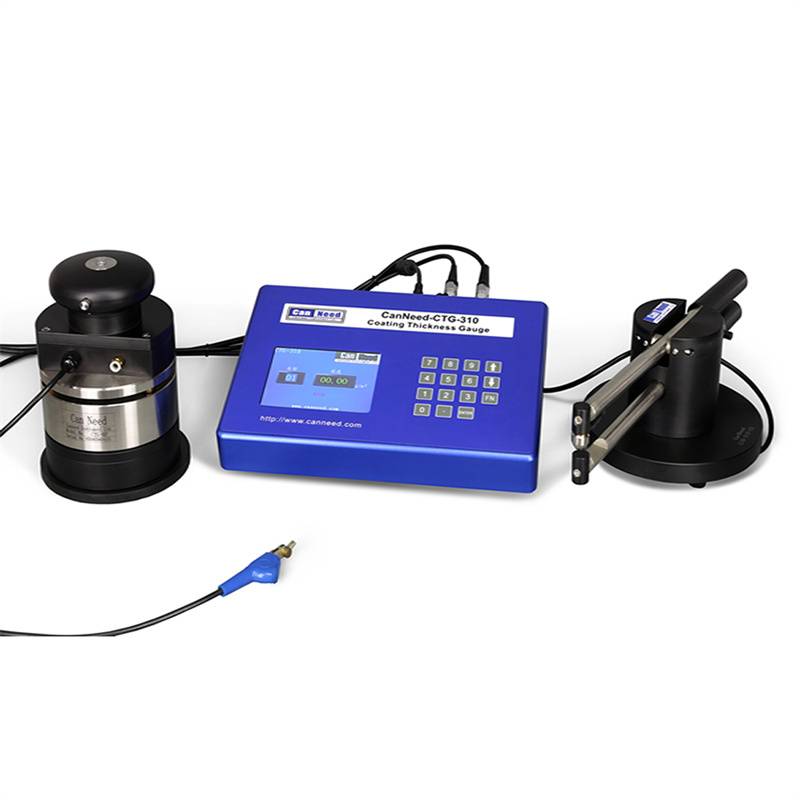
CanNeed-CTG-310 Coating Thickness Gauge
|
|
CanNeed-CTG-310 Coating Thickness Gauge is used to test the coating thickness(coating weight per unit area, g/m2). When equipped with ��Hover Probe��, it can measure the coating thickness of plate sheets. When equipped with can body testing clamp, it can test the coating thickness of can body.
Use standard coating plate (sample with known weight, g/m2) calibration equipment to test different
types of coatings. Test result and coating type number will display on the screen and the data will be output to PC with RS232.
|
|

|
CanNeed-CSG-200S Countersink Gauge (with data output button)
|
|
The ��CanNeed-CSG-200 Countersink Gauge (digital)�� is a Digital gauge for measuring Countersink depth parameters (the depth of beader of can).
|
|

|
CanNeed-EMS-300 Multiple Lid Measurement Station
|
|
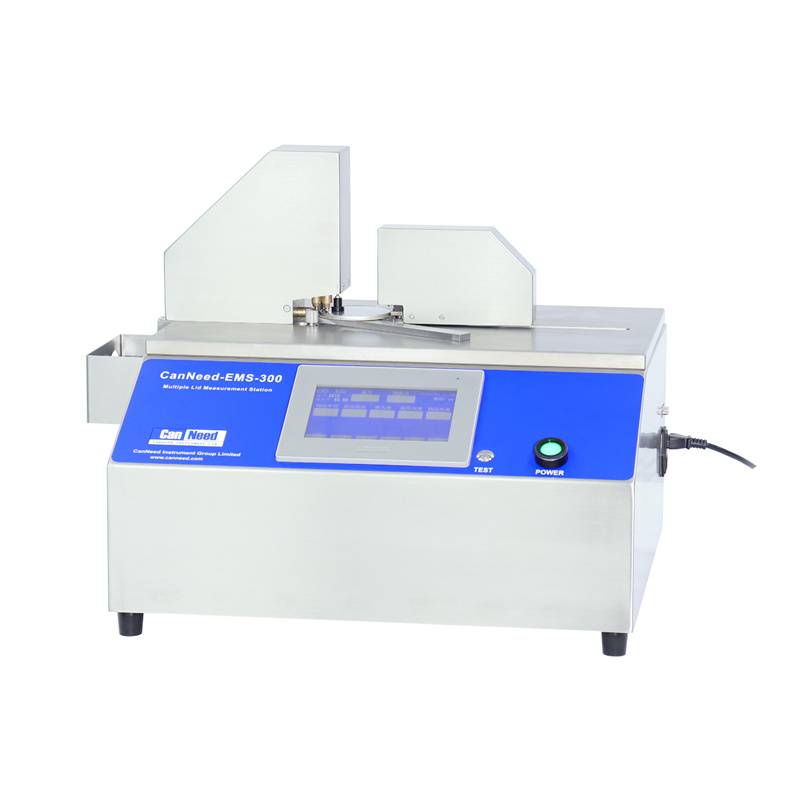
CanNeed-EMS-300 Multiple Lid Measurement Station is used to measure the parameters of the can end as follows:
A.End curl outer diameter
B.End curl height
C.End countersink
D.End curl opening
E.End curl width
F.End curl length
G.End curl inner diameter
H.Chuck adapting diameter
J.Thimble depth
|
|

|
CanNeed-PTG-100 Digital Plate Thickness Gauge
|
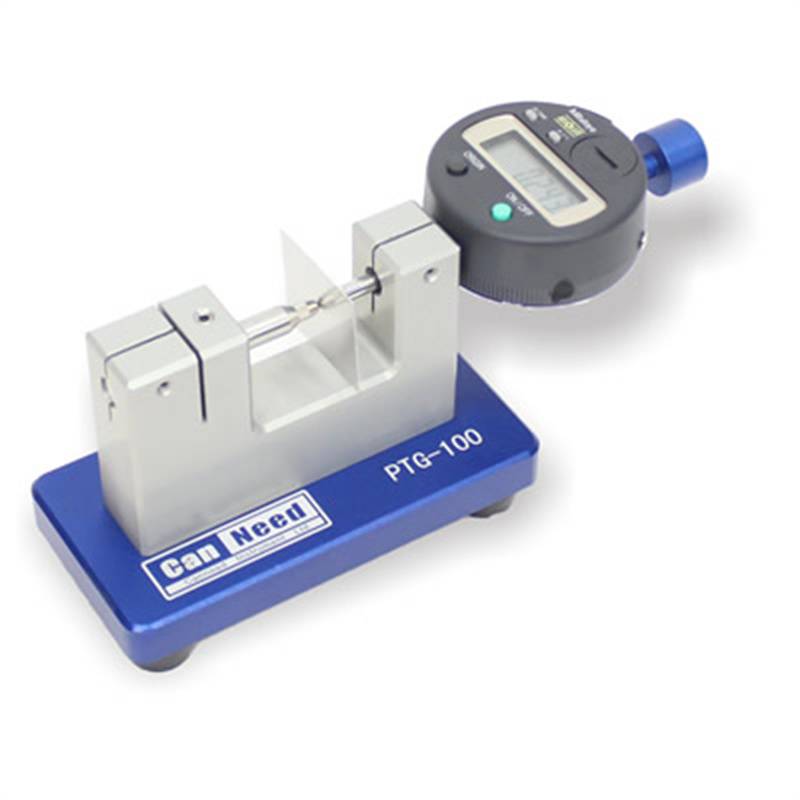
This unit serves for quickly checking the thickness of plates. The sample is presented vertically in this version. Equipped with the Mitutoyo 0.001mm Resolution Digital Indicator.
If purchased the adapter and cable, the gauge can be connected to a computer or SPC system for data collection.
|
|

|
CanNeed-BDD-200A Bead Depth Gauge
|
|
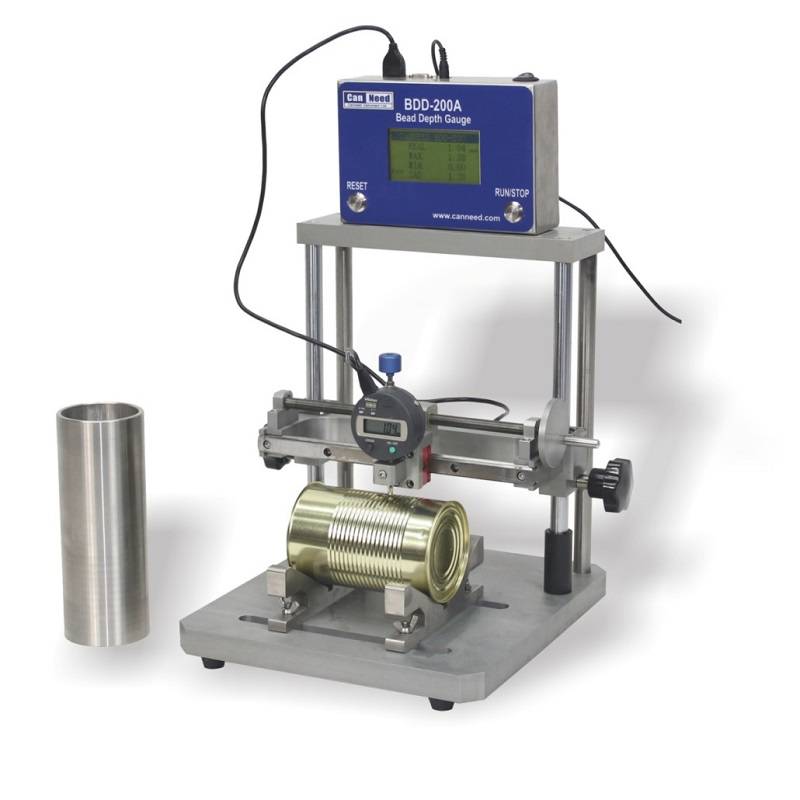
CanNeed-BDD-200A Bead Depth Gauge is for measuring the bead depth of the can body, with the special designed end measuring holder, end bead depth can also be measured. The fine designed can holder, which ensures the cans keep still during the measuring, and the results are more accuracy.
|
|

|
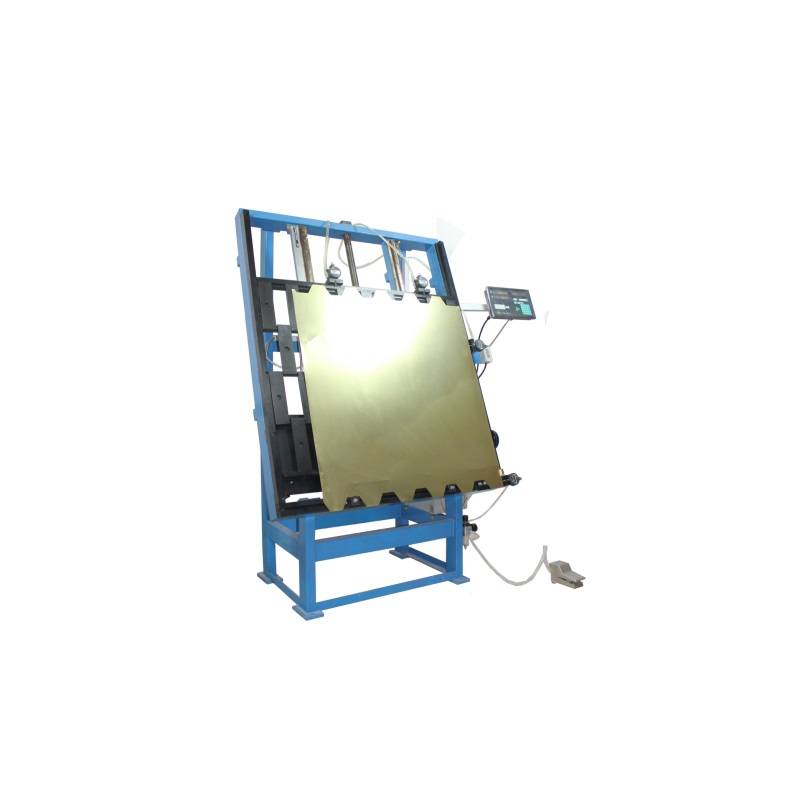
CanNeed-ZME-1220 Digital End Blank Gauge for Scroll Cut
|
CanNeed-ZME-1220 is to measure the following items of the end blank:
1. Length
2.Parallelism
3. Perpendicularity (angle)
4.Reference points
|
|

|
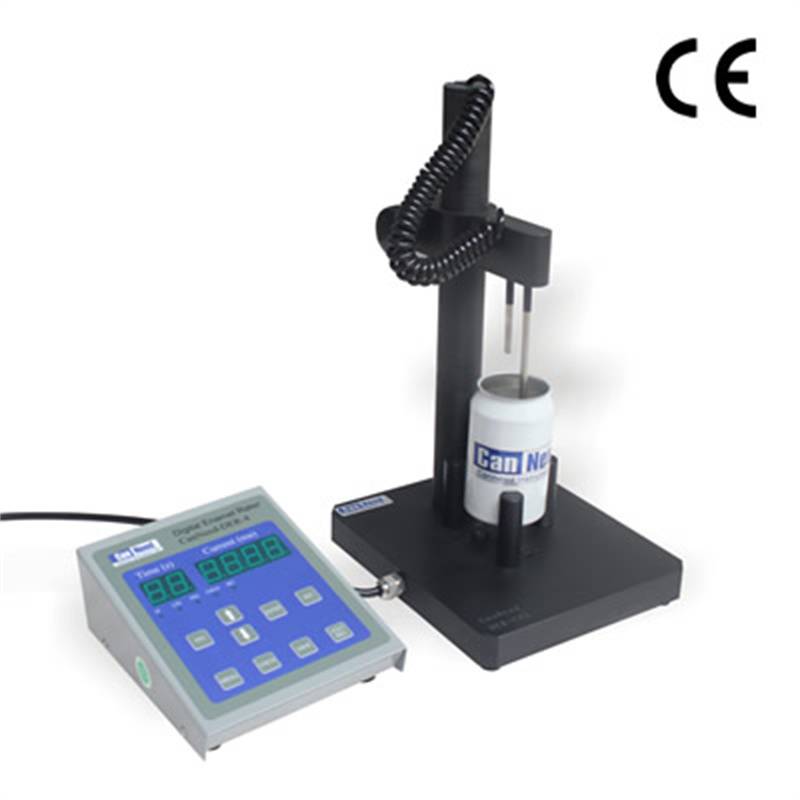
CanNeed-DER-4 Digital Enamel Rater
|
|
The CanNeed-DER-4Digital Enamel Rater is able to detect the exposed metal position more easily compare to the former models. The reformative electronic design makes it more sensitive, reliable and accurate. The anticorrosion characteristic of the enhanced can body support is ensured its durability. The film coated buttons are more durable and with better corrosion resistance.
CanNeed-DER-4 is the industry standard. The new CanNeed-DER-4Enamel Rater instrument test the coverage of the enamel coating inside food and beverage cans, aerosol-cans and also different kinds of ends. It displays an index of the amount of metal exposed by incomplete enamel coverage on a clear, easily read digital LED.
|
|
| Total page:3
Current page:1 Total records:62 |
First |
Previous |
Next |
Last
|
|
"If you can not find the product you need, please contact us or leave a message."
|
|

